
What Should a Semi Truck Breakdown Report Include?
Last Updated: November 12, 2026
Quick Summary
A semi truck breakdown report should record the time, location, driver name, unit number, symptoms, fault codes, and photos of the failure before anything is touched. Capture it at the scene, not later from memory, because every downstream document traces back to it.
Photograph the four-shot set before anyone adds coolant, swaps a wheel, or opens a hood.
Record active and inactive ECM fault codes before clearing them, along with odometer and engine hours.
Keep the breakdown report template to one page so drivers actually fill it out.
Name the person and role who approved return-to-service release, plus the date and time.
Store records by unit number and date so any single truck's history can be pulled in minutes.
Is your breakdown paperwork audit-ready?
Big Rig Repair provides 24/7 heavy-duty truck repair and roadside service with clear records and pricing.
Table of Contents
Why Semi Truck Breakdown Repair Documentation Decides Your Repair Outcome
A semi truck breakdown repair documentation file is the record of what failed, what was checked, what was replaced, and who signed off on the fix. Get it right and the repair moves fast.
Most fleets treat paperwork as an afterthought, but the paperwork is the repair record: without it you cannot prove a part failed early, show a roadside vendor what was already tried, or defend a return-to-service decision.
What to Capture at the Roadside: Evidence and the Breakdown Report
A roadside breakdown report should record the time, location, driver name, unit number, symptoms, fault codes, and photos of the failure before anything is touched. Capture it at the scene, not later from memory.
Memory fades fast on a shoulder at night, so build the report promptly, in a fixed order.

The first fifteen minutes: a capture sequence
Stop and secure the scene. Note the stop time, mile marker, direction of travel, lane position, weather, and road surface. If the unit is in a live lane, note that too, it affects the tow decision and the safety narrative later.
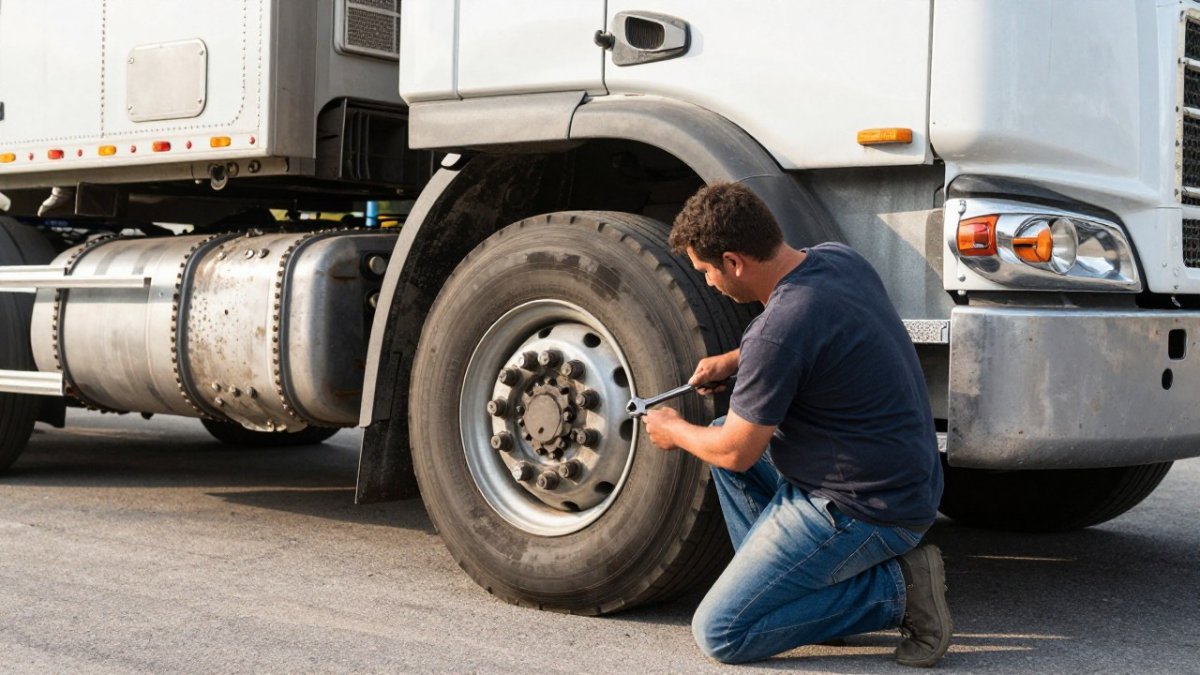
Photograph before touching. Take the four-shot set below before the driver adds coolant, a roadside tech swaps a wheel, or anyone opens a hood.
Record the driver's account verbatim. Ask what was heard, seen, smelled, and felt, and write it down word for word. "It made a noise" is a usable data point if it is the driver's actual description; do not translate it into technician language yet.
Capture the dash and the codes. Photograph the instrument cluster with warning lights lit, then pull and record active and inactive ECM fault codes before anything is cleared. Record odometer and engine hours at the moment of failure.
Log what was already done. If the driver added oil, coolant, or air, or taped a hose to limp to a shoulder, record it, that note explains later evidence that would otherwise look like a second failure.
Record the tow-or-drive decision and who made it. Note the authorizing person's name, the time, and the reason.
Watch out: the most common mistake is letting the driver or a Good Samaritan "help" before photos are taken. Once a wheel is swapped or a hose is taped, the root-cause evidence is gone, and a warranty reviewer cannot distinguish the original failure from the roadside fix.
The full field set for a roadside breakdown report
A one-page form is enough if the fields are chosen well. The report should carry, at minimum:
Incident header: date, time of stop, time of report, exact location (mile marker, cross street, or GPS), direction of travel, weather, and road conditions.
Unit and driver: tractor number, trailer number, VIN if available, driver name and phone, carrier name, and load or placard information if relevant.
Symptom log: the driver's verbatim description plus observable conditions, smoke color, fluid color and location, noise under load versus at idle, vibration, or a pull to one side.
Photographic evidence and chain of custody
Photographic evidence needs four shots per failure: a wide shot showing the truck in place and its position relative to the road, a mid shot of the failed component in context, a close-up of the damage, and a shot of any part number, serial stamp, or date code. Timestamp every image, and capture location metadata if the device supports it.
Chain of custody matters when a failure leads to a warranty or liability dispute. Record who took each photo, when, and where the file is stored.
A simple custody line is enough: "Photos taken by [driver] at [time], uploaded to [system] on [date] by [name]." That line has settled more claims than any invoice, because it answers the reviewer's first question: can we trust this evidence?
Who records what at the scene
The driver records the incident header, symptom log, and photo set. The roadside technician records the roadside action, the tow-or-drive decision, and any codes pulled at the scene. A dispatcher logs the call time, vendor dispatched, and ETA. Splitting fields this way prevents the common failure where everyone assumes someone else wrote it down.
Digital capture versus paper at the roadside
Mobile forms with required fields, automatic timestamps, and photo attachment reduce the missing-field problem paper forms suffer in rain and dark. The trade-off is connectivity: a form that will not submit without a signal is worse than a clipboard. Most fleets use a mobile form that saves locally and syncs when the truck reaches coverage, with a paper backup in the cab.
Building a Semi Truck Breakdown Report Template
A semi truck breakdown report template is a fixed form that forces the same fields every time, so no detail gets skipped under pressure. Build it once, then reuse it for every roadside event.
Keep the template to one page. A driver will not fill out four.
Template Section | What Goes In It | Who Fills It |
Incident header | Date, time, location, unit, driver | Driver |
Symptom log | What was seen, heard, smelled | Driver |
Fault codes | ECM codes and dash warnings | Driver or tech |
Photo set | Wide, mid, close-up, part stamp | Driver |
Roadside action | What was done on the shoulder | Roadside tech |
Tow or drive decision | Why the unit moved or stayed | Roadside tech |
The template should also carry a short free-text box: "Anything else the next person needs to know." That box catches details a checklist misses, like a trailer that pulls left or a noise that only shows up under load.
Your Truck Repair Documentation Checklist for Every Job
A truck repair documentation checklist turns a vague repair into a traceable one. Use the same list for roadside calls and shop visits so records stay consistent.
Run through it every time:
Breakdown report completed at the scene
Photos uploaded and timestamped
Fault codes recorded before clearing
The "dead ends" line matters more than people think. If a tech spent two hours chasing a sensor before finding a chafed harness, that note stops the next shop from repeating the work and justifies the labor hours on the invoice.
Writing a Semi Truck Repair Work Order That Holds Up
A semi truck repair work order must state the complaint, the cause, the correction, and the parts and labor in plain language.
Vague work orders fail. "Fixed truck" is not a record.
Write the complaint in the driver's words, then translate it into the cause. Keep them separate so a reviewer can follow the logic.
For preventive work, tie the repair back to the maintenance schedule and OEM intervals.
If you want a deeper look at staying ahead of failures, our guide on preventive maintenance for commercial fleets walks through scheduling and inspection intervals.
Truck Repair Record Retention and FMCSA Compliance
Truck repair record retention means keeping repair and inspection records for the period the safety regulations require, and keeping them retrievable.
We are not going to quote a number here. Retention periods and the specific records required can change, and the exact rule depends on your operation.
Build your retention around the rule, not around convenience. Store records by unit number and date so any single truck's history can be pulled in minutes.
Documentation Requirements by Audience
Different readers need different slices of the same record. Build once, then filter.
Your own shop needs the full file: photos, codes, diagnostic notes, parts, labor.
A warranty provider needs the failure evidence, part numbers, and mileage at failure.
A safety auditor needs inspection reports, repair history, and return-to-service sign-offs.
The mistake is writing one thin record and hoping it serves everyone. It won't. For more on keeping a clean paper trail, browse the Big Rig Repair blog for related record-keeping and maintenance articles.
Common Documentation Errors and Return-to-Service Sign-Off
The most common documentation errors are missing photos, cleared fault codes with no record, vague work order language, and no named sign-off.
Watch out: clearing fault codes before writing them down destroys the single best clue to the root cause. Once cleared, that evidence is gone for good, and a later repeat failure looks like a new problem instead of an unresolved one.
The documentation errors that actually cost money
Ranked by how often they turn into disputes rather than how often they occur:
Cleared codes with no record. The repair may be correct, but the reviewer cannot see what the technician saw. Record active and inactive codes before clearing, and note which were cleared and when.
Photos taken after the repair started. The evidence no longer shows the failure as found. Capture the four-shot set before disassembly.
Vague work order language. "Fixed truck" and "repaired as needed" are not records. State the complaint, cause, and correction in plain language with part numbers and labor hours.
Post-repair verification: what to check before release
Verification is a separate step from the repair, and it should be documented as such. A practical verification record covers:
Repair confirmation. The specific repair performed, part numbers installed, and the technician who performed it.
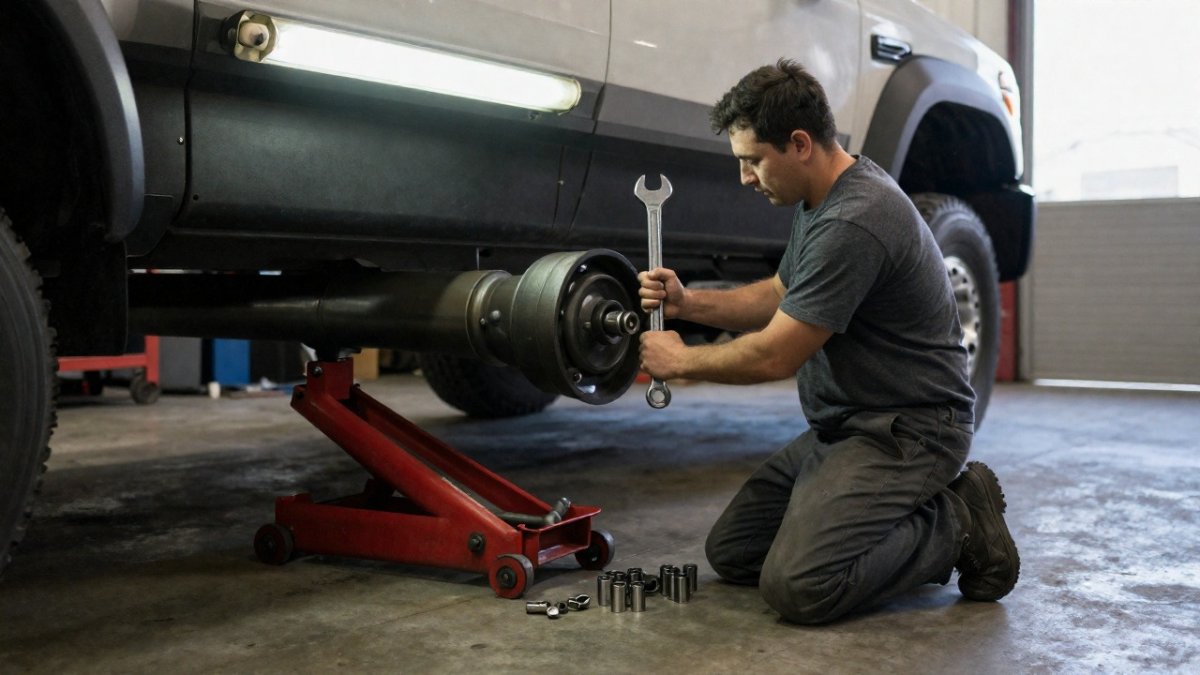
Functional check. The system or component operated through its normal range, brakes applied and released, cooling system brought to temperature and checked for leaks, electrical load tested, tire pressures set and torque verified.
Road test. A documented road test with distance, duration, and result, noting any symptom that did not reproduce and any new symptom that appeared.
Return-to-service sign-off and release authority
The return-to-service sign-off is the last gate, and it should name a person, not a department. Before a unit leaves, the record should show:
The repair completed and who did it
The functional check and road test results
Any faults left open and why they are safe to defer
That signature is your proof the truck was fit to run. Without it, a later failure becomes a question you cannot answer. A common pattern separates the technician who performed the repair from the person who authorizes release, so the sign-off is an independent check rather than self-certification. On small fleets the same person may hold both roles, but the record should still show the verification was performed and the release was deliberate.
Closing the loop into the fleet record
The sign-off is not the end of the trail. File the release record against the unit number and date, link it to the original breakdown report and repair order, and keep it retrievable for your retention period. When a warranty claim, insurance review, or safety audit arrives months later, the file should tell one continuous story: what failed, what was found, what was fixed, what was verified, and who released the truck.
Get Your Fleet's Breakdown Paperwork in Order Before the Next Call
The next breakdown is not a question of if. It is a question of whether your paperwork is ready when it happens.
Build the template. Train the drivers. File the records by unit.
That is where we come in. Big Rig Repair runs 24/7 big rig repair and road service with certified technicians and advanced diagnostics.
Get started with Big Rig Repair and turn every breakdown into a clean, documented repair. You can review our repair services or contact our team for 24/7 road service.
A breakdown with no record is a repair you cannot defend.
Frequently Asked Questions
What information should be included in a semi truck breakdown report?
A complete semi truck breakdown report records the date, time, and location of the failure; the driver's name and truck or trailer unit numbers; odometer reading; the symptom the driver observed; any diagnostic or fault codes pulled from the ECM; photos of the failed component before and after repair; the roadside service provider and technician name; parts replaced with part numbers; labor hours; and the return-to-service sign-off. Keep the driver's description in their own words. That first-hand account is what an auditor or claims adjuster will weigh when the repair invoice is questioned later.
How long should truck repair records be kept?
Federal rules set minimum retention periods for maintenance records, so confirm the current requirement with the official source. Many fleets keep records longer for warranty, insurance, and resale reasons. Store inspection reports, repair orders, and invoices together by unit number so a single truck's history can be pulled in minutes. Digital files with a clear naming convention make retention far easier than paper binders, especially across a mixed fleet.
Should drivers take photos of a semi truck breakdown and repair?
Yes. Photos are the strongest evidence you have when a repair is disputed or an insurance claim is filed. Have the driver photograph the failed part, the surrounding area, the odometer, and the VIN plate before the truck is touched. Take a second set after the repair showing the new part installed. Timestamped images stored in a shared folder create a chain of custody that supports both the repair order and any claim. Without photos, a later dispute often comes down to one person's word against another's.
Can a maintenance checklist help prevent semi truck breakdowns?
Preventive maintenance is the most reliable way to reduce roadside breakdowns. A pre-trip and post-trip inspection checklist catches tire damage, brake issues, coolant leaks, and battery problems before they strand a truck. Pair the checklist with OEM maintenance intervals for oil changes, brake adjustments, and cooling-system service, and log every inspection in the same record system as your repair orders. When inspection findings feed directly into work orders, you build a maintenance history that shows what failed, when it was caught, and what was done about it.

Comments